

You bought the lumber, sharpened the pencil and cleared the bench. An hour later you are looking at a shelf that rocks on three corners, a joint with a gap you could post a letter through, and a board that is somehow shorter than the one you just measured. That does not mean you are not cut out for this. It means you ran into the same ten mistakes nearly every woodworker meets on a first build — the sort that stay invisible until glue-up, when fixing them costs you a whole evening. Learn to see them coming and your first project stops being a salvage operation.
Measuring and marking
1. Measuring from the wrong reference
A tape measure's hook slides by roughly the thickness of the hook itself. That slack is deliberate: it compensates when you push the hook against an end versus hooking it over one. It also means you cannot hook a tape on a board, mark a length, then butt the tape against a wall and expect the same number. Pick one reference — usually the hook pushed flat against the left end of the board — and use it for every measurement in the project. Keep one tape measure for the whole build, too, since cheap tapes disagree with each other by a millimetre or two.
2. Marking with a fat pencil
A carpenter's pencil leaves a line nearly 2mm wide. Cut to the centre of that line and you have made a decision you did not mean to make. Use a fine mechanical pencil or a marking knife, and draw a small X on the waste side of every line. It sounds fussy until you are standing at the saw with a board in your hand and no idea which side of the mark the blade belongs on.
Straight, flat and square
3. Trusting an edge you never checked
The edge a board arrives with is a shipping edge, not a reference edge. It can be bowed, cupped or out of square, and if you measure from it, every cut inherits the error. Before anything else, check with a square and a straightedge. If the edge is not true, joint it by hand with a plane, or rip it straight on the saw against a known-straight factory edge, then work from the edge you created.
4. Gluing up out of square
A carcass can be perfectly cut and still come out of the clamps as a rhombus. Check the diagonals before the glue tacks: corner to opposite corner, then the other pair. If they differ, the frame is racking. A bar clamp across the long diagonal, tightened gently, will pull it back. Once the glue grabs, that shape is set.
Clamping
5. Too few clamps, in the wrong places
Clamping is not about squeezing harder, it is about spreading pressure evenly. For an edge joint, that usually means a clamp every 100–150mm (4–6 inches) along the joint, alternating over and under the panel so the boards do not cup. Add cauls — stiff, straight offcuts covered in packing tape so glue will not stick — across the width to keep the panel flat. If you only own four clamps, plan a project that needs four clamps.
6. Over-clamping and starving the joint
Wind a clamp down as hard as it will go and you squeeze the glue out of the joint instead of into the wood. A starved joint looks tight and fails later. Aim for a snug, firm pressure: a continuous bead of squeeze-out along the whole joint tells you the glue has spread and there is still adhesive in there. A few small drips at the ends and nothing in between means you need more glue, not more force.
Cutting
7. Ignoring the kerf
Every cut removes material. A standard table saw blade takes about 3mm (1/8 inch); a thin-kerf blade takes less. Cut three pieces "to 300mm" without allowing for it and you are short by the width of three blade cuts. Two habits solve this: cut to a mark rather than between two marks, and leave yourself 1–2mm to trim off on the final pass. Sneaking up on a dimension is not indecision — it is how accurate work gets done.
8. Tear-out on crosscuts
End grain has nothing holding the fibres at the exit edge, so the blade lifts a chunk out on the last few millimetres. The fix depends on the tool:
- Score the cut line with a sharp knife before the blade touches it.
- Run a strip of masking tape over the cut and cut through it.
- Back the workpiece with a sacrificial offcut clamped tight against the exit edge.
- Fit a zero-clearance throat plate to the table saw so the wood is supported right up to the blade.
With a router, take shallow passes and check the rotation direction before you start. Climb cutting can reduce tear-out on tricky grain, but it pulls the tool toward you, so keep the passes small and your hands clear. Burning is the other signal here: a dull blade or a feed rate that is too slow scorches the cut and shortens blade life. Change the blade or move the wood through steadily rather than easing it along.
Sanding
9. Sanding too early and too hard
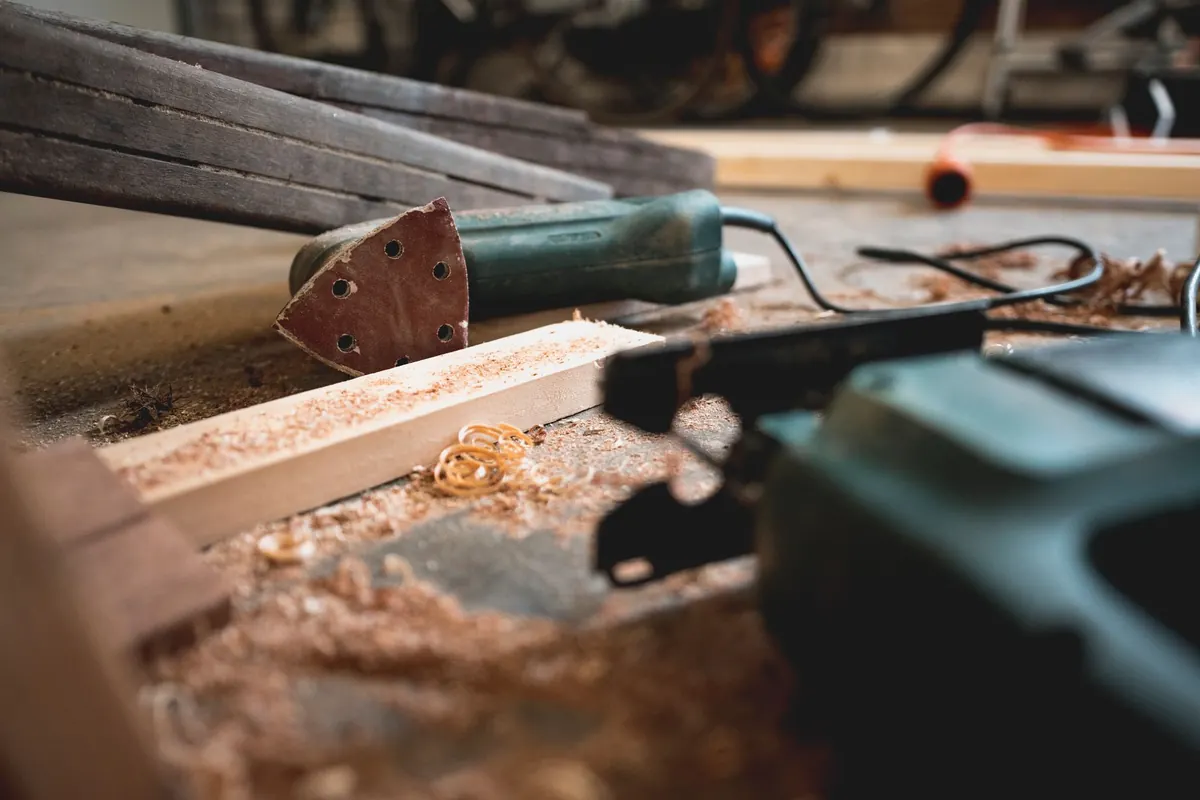
Sand before assembly and you round the corners that were supposed to meet flush; sand across the grain with coarse grit and you leave scratches that no finer grit will remove. Work through the grits in order, 80 to 120 to 180, and change direction between them so you can see when the previous grit's scratches are gone. Keep the pressure light, let the paper do the work, and be careful near veneered plywood — the face layer is thinner than most people assume, and one enthusiastic pass can cut through it. Sand edges and eased corners after glue-up, with a block behind the paper.
Dry fitting
10. Skipping the rehearsal
Assemble everything without glue first. Clamp it, check the diagonals, check that the drawers clear, check that you can actually reach every clamp position once the piece is standing up. Then lay out the clamps, open the glue, and do it again for real. The five minutes you spend rehearsing is the cheapest five minutes in woodworking.
A short checklist before you make a cut
Measure twice from the same reference. Mark the waste side. Check the ends for square. Subtract the kerf. Do a dry run of the cut on an offcut of the same stock, especially when you are working with a grain pattern you have not seen before. If the test cut is clean and the length is right, make the real one with confidence.
None of these habits are complicated, and most of them cost nothing but a little patience. Build a small box or a simple shelf as your next project and practise them deliberately. By the third or fourth build you will catch the tear-out before it happens and hear the starved joint before the glue sets — and that is the point where woodworking starts to feel less like a gamble and more like a craft.
Photo: Thijs van der Weide / Pexels
Related posts
More stories you’ll love reading