

Black walnut is one of the few woods that looks better under a simple finish than a complicated one. The grain runs from milk chocolate to near-black, with streaks of grey and purple in between, and oil pulls all of it to the surface instead of burying it under a sheet of plastic-like film.
The catch is durability. Oil by itself is a poor shield against water rings, fingernails, and the kind of abuse a coffee table takes. The method below fixes that: sand carefully, work thin coats into the grain, fill walnut's open pores, then build sheen slowly. You keep the depth of an oil finish and end up with a surface that can take daily use.
Sanding Sets Up Everything
Walnut is softer than oak or maple, and it marks easily, so slow down before you open the first can. Work through 80, 120, 150, 180, and 220 grit, spending real time at each step. Skipping a grit means scratch removal later, and scratch removal later means sanding back through oil you have already applied.
Stop at 220. Past that the wood starts to polish and close up, and oil sits on top rather than soaking in. It dries slowly and looks thin. On figured boards, keep the pressure light and change paper the moment it clogs. Clogged paper burnishes the surface, and burnished patches drink oil differently from the wood around them, which shows up as blotches once the finish darkens.
Finish every grit with a few passes by hand, working along the grain. A random-orbit sander leaves tiny pigtail swirls that only reveal themselves when the oil goes on.
Then raise the grain. Wipe the whole surface with a cloth dampened with water, let it dry for an hour, and sand lightly with your last grit. This lifts crushed fibers so the first coat doesn't leave the wood feeling like felt. Clear the dust with a vacuum and brush attachment, then wipe with a rag dampened with mineral spirits. Skip compressed air unless your shop is unusually clean.
Choosing the Oil
Not all oils behave the same way, and the label is not always honest about what's inside.
- Pure tung oil. The toughest of the traditional oils and the most water resistant. It cures slowly, often several days between coats, and finishes dead flat. Expect to thin the first coat so it penetrates.
- Boiled linseed oil. Cheap, easy to find, and warm in tone. It ambers over the years, which flatters walnut, but it offers less water resistance than tung and needs more coats for the same protection.
- Danish oil and oil-varnish blends. Oil cut with varnish and solvent. They wipe on easily, cure in about a day between coats, and leave a soft satin sheen. A sensible middle ground for furniture.
- Wiping varnish sold as "tung oil finish." Often contains little or no tung oil. It is a thinned varnish, which is fine, but it builds a film rather than soaking in, so treat it as a different product.
For anything that gets used hard, an oil-varnish blend gives you the best of both. For a piece that lives on a shelf and gets handled occasionally, pure tung oil will do the job and look richer for it.
Applying the First Coats
Work in a shop above about 18°C. Oil does not cure in the cold, and a chilly garage in February will leave you with a tacky surface for a week.
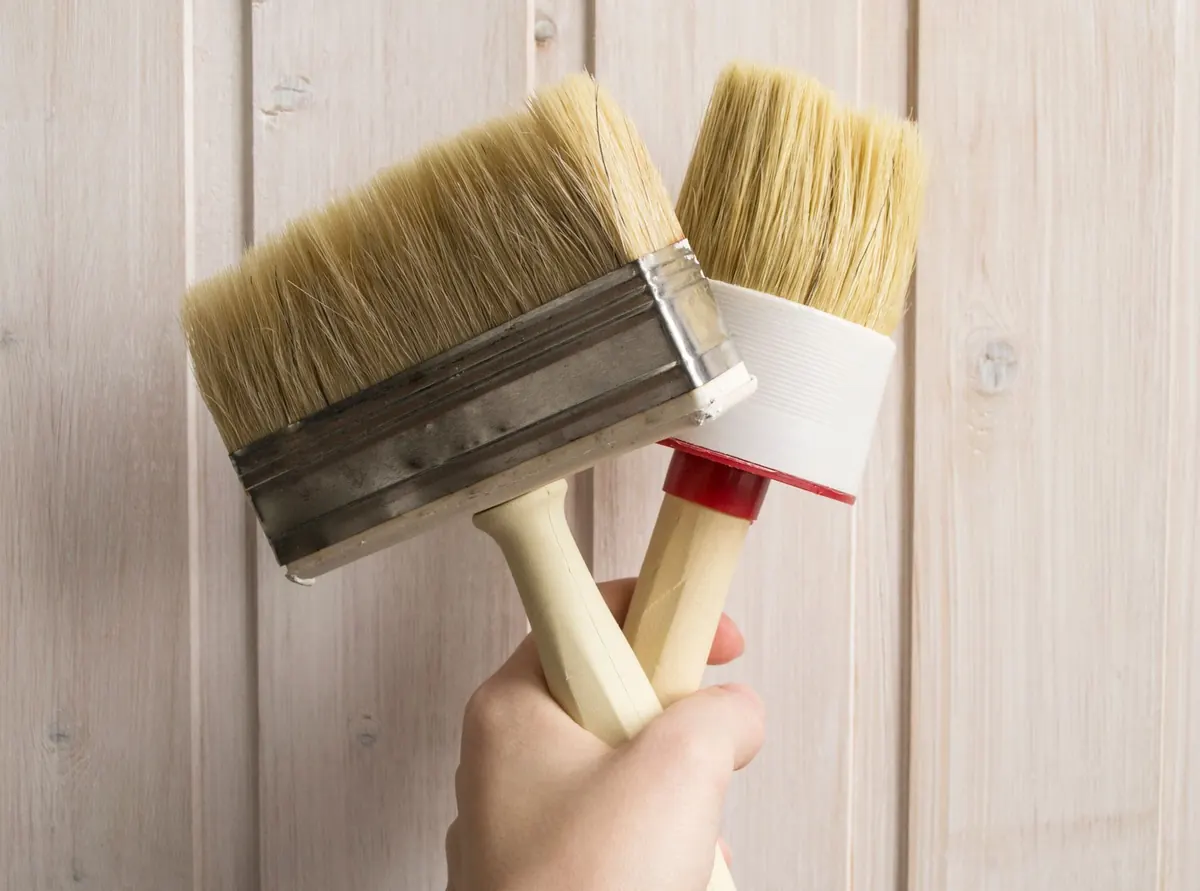
- Apply with a lint-free rag or a foam brush, flooding the surface generously.
- Keep it wet for ten to fifteen minutes, adding more oil wherever the wood drinks it in.
- Wipe off everything the wood will not absorb. Puddles cure into sticky patches that are miserable to sand back.
- Wait. Twenty-four hours for a blend, three to seven days for pure tung oil.
- Knock off any raised nibs with 400 or 600 grit, then wipe clean and recoat.
Thin coats and long waits beat thick coats every time. Oil cures by absorbing oxygen, and a flooded surface can only take in so much before it stops.
Wet-Sanding to Fill the Pores
Walnut has open pores that will telegraph through a thin finish and collect grime over the years. The fix is simple: use the oil itself as a grain filler.
During the second or third coat, dip a piece of 600 or 800 grit wet-or-dry paper in oil and sand with the grain. The paper turns the wood dust into a slurry that packs into the pores. Wipe across the grain to push the slurry in, then along the grain to clear the excess. Let it cure, then flatten the surface with 800 grit before the next coat.
Two or three sessions are usually enough on walnut. The filled pores darken slightly, which adds depth rather than hurting the look. If you can still see open pits when you hold the board at an angle, do one more pass.
Building Sheen
Once the pores are filled, stop flooding. From here on, each coat is thin: wipe on, wait a few minutes, wipe off the excess, leave it alone. Sheen comes from the number of cured coats, not the thickness of any one of them. Four to six coats spread over a week or two will take a tabletop from flat to a soft glow.
Between coats, burnish with 1000 grit or a grey synthetic pad. For more gloss, follow the final coat with a thin wipe-on varnish, or buff in a paste wax after the oil has fully cured. Wax feels wonderful under the hand but makes later touch-ups fussier, because fresh oil will not soak through it. On a dining table, a couple of thin varnish coats over the oil is the more practical choice.
Curing, Rags, and Patience
Oil cures by oxidation, not evaporation, so the surface will feel dry long before it is hard. Give a finished piece two to four weeks in a warm room before you put anything heavy on it, and keep dust off while it sets. If it still smells like oil, it is still curing.
Oily rags are the one genuine hazard in this job. Spread them flat outdoors to dry, or soak them in water and seal them in a metal can with a lid. Never ball them up and drop them in a bin.
For care, wipe with a damp cloth and a little mild soap. Skip silicone polishes and ammonia cleaners, which dull the surface and complicate repairs. Once a year, or whenever the wood looks dry, scuff lightly with a grey pad and add a thin coat of oil. Test on the underside first.
A Finish That Gets Better
Oil is forgiving in a way that film finishes are not. A scratch can be sanded locally and blended with a fresh coat; there is no stripping, no spraying, no booth. Keep a scrap of the same walnut finished alongside the project, so you have a reference for colour and sheen as the piece ages.
Resist the urge to chase a glass-smooth, plastic-like surface. Walnut's character is in the wood, not in the coating. Stop when the pores are filled, the sheen is even, and the colour has that deep, warm tone that made you pick the board in the first place.
Photo: ExplorerBob / Pixabay
Related posts
More stories you’ll love reading