


Most beginners build their first tool kit backwards. They buy the impressive things first — a router, a biscuit joiner, a set of twenty-six chisels — and then discover they can't saw a straight line or hold a board still long enough to drill it. A kit that works grows outward from three skills: measuring accurately, cutting cleanly, and holding things steady while you work. Buy for those skills first and everything else makes sense later. Here's what belongs in a starter kit, what you can get secondhand or make yourself, and what to leave alone until you have a project that genuinely needs it.
Measuring and marking: spend here first
A tape measure is fine for rough work, but it's the wrong tool for joinery. Buy a 300mm steel rule and a 150mm rule instead; they let you set a marking gauge or line up a saw against a real edge without the hook wobbling. Then buy one good combination square, not three cheap ones. A square that's out by half a degree will quietly ruin every joint you make. To check a new one, press it against a straight edge, draw a line, flip it over and draw again — the two lines should coincide exactly.
A marking knife cuts a line a saw can sit in, which is why cabinetmakers reach for one before a pencil. Add a mechanical pencil for rough marking, a sliding bevel for angled work, and a marking gauge once you start cutting joints. Winding sticks — two straight lengths of scrap — will tell you whether a board is twisted, and they cost you nothing but ten minutes.
Hand tools that earn their keep
Saws
A Japanese pull saw with a fine crosscut tooth pattern handles most beginner work: it cuts on the pull stroke, so the blade stays thin and the kerf narrow. A tenon saw backs that up for joinery. If you prefer Western saws, a panel saw is fine — just learn to sharpen it, or find someone who can.
Planes
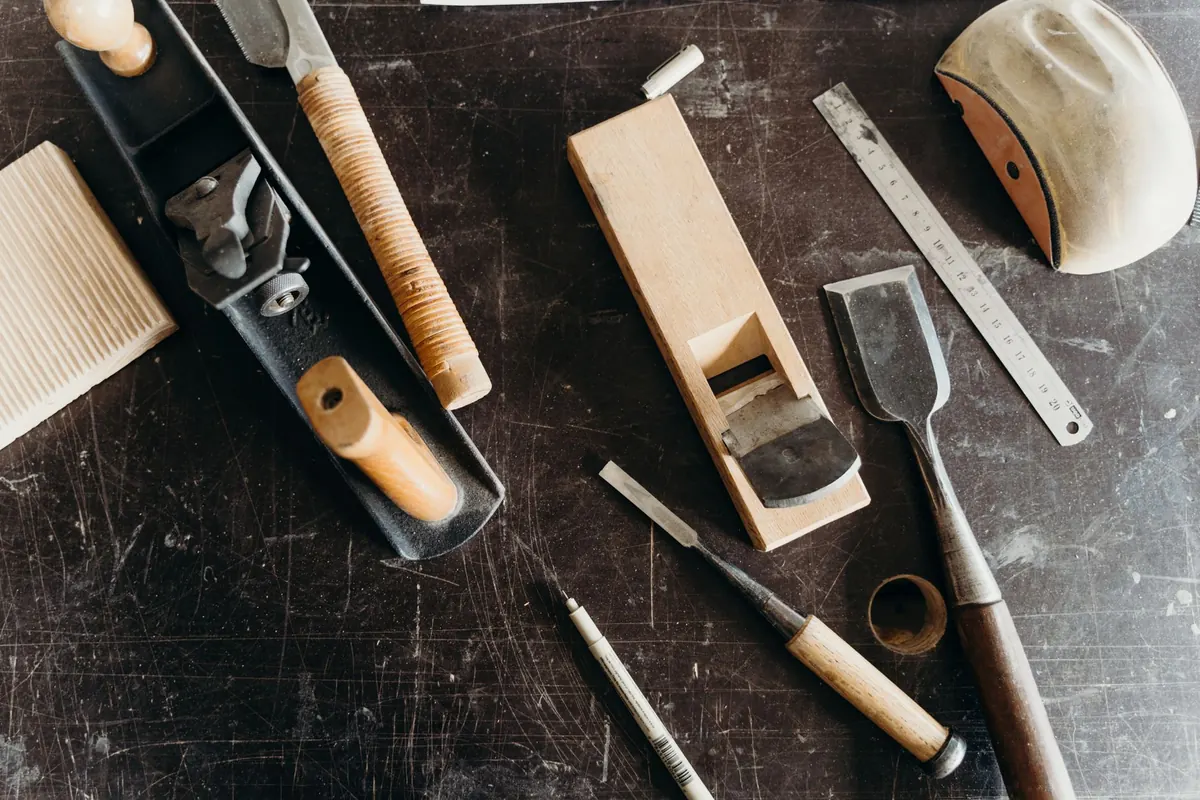
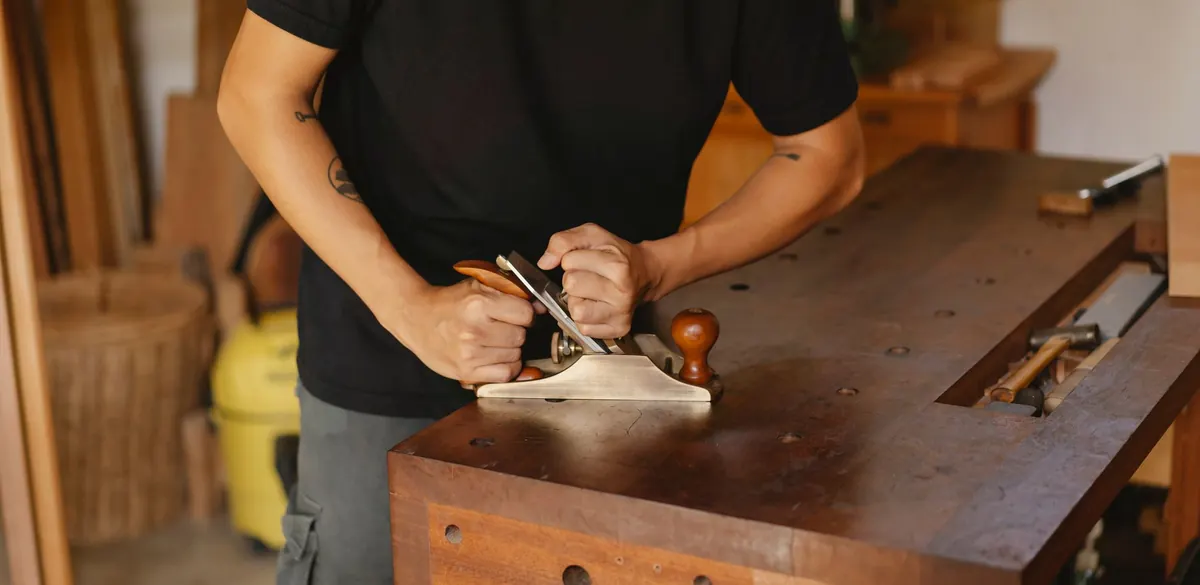
One bench plane, a No. 4 or No. 5, will flatten a board, true an edge and chamfer a corner. A block plane is the second purchase and often the one you'll reach for most. Buy used and tune it: flatten the sole lightly on abrasive paper over a flat tile, sharpen the iron, and it will outperform a cheap new plane every time.
Chisels and sharpening
Four chisels — roughly 6mm, 12mm, 19mm and 25mm — cover almost everything a beginner does. A set of twelve usually means nine dull ones. Sharpening matters more than the steel: a combination water stone or a diamond plate, a way to hold a consistent angle, and fifteen minutes of practice will improve your work more than any upgrade.
Clamps, vises and somewhere to work
You will use more clamps than you own. That's a law of the workshop. Start with six or eight bar clamps and F-clamps in the 300–600mm range, plus a handful of spring clamps for small parts. Cheap clamps twist under pressure and drag joints out of alignment, so buy fewer and better.
A vise is the single best upgrade to a wobbly bench, and a bench hook — a scrap of plywood with two strips of wood screwed to it — will hold work for sawing and chiselling. Make two. Add eye protection, ear defenders and a dust mask before the first power tool arrives, not after.
Power tools: buy two, borrow the rest
Two power tools carry you a long way: a cordless drill/driver and a random orbit sander. The drill does pilot holes, countersinks and driving; the sander turns rough boards into something that feels finished. Pick a battery platform from a brand you can buy spares for locally and stay inside it — batteries are the expensive part.
A jigsaw handles curves and rough cutouts. A circular saw breaks down sheet goods, though many beginners can simply have the timber merchant cut sheet stock to size. Whatever you buy, add a shop vacuum or extractor that connects to the sander and saw; the dust you don't collect ends up in your lungs and on every surface in the house.
Budget-friendly ways to fill the gaps
- Buy used. Old planes, chisels, braces and squares were made well. A weekend of cleaning and sharpening often beats a new tool at twice the cost.
- Make the simple things. Bench hooks, a mallet, winding sticks, a saw bench and even a basic workbench are all achievable beginner projects, and the skills transfer.
- Start with a folding workbench or a sturdy table with a vise clamped to it, rather than postponing every project until you own a proper bench.
- Borrow or hire specialist tools — a thicknesser, a floor sander, a router — for the one job that needs them.
- Buy one good combination square and one good sharpening stone instead of a drawer of mediocre ones.
What you can safely skip for now
Some tools get bought early and used rarely. Leave these until a project demands them: a table saw, a router and its bits, a thickness planer, a jointer, a scroll saw, a lathe, a biscuit joiner and an air compressor. They're expensive, they eat space, and most of them reward skills you'll build faster with hand tools anyway. A table saw in particular deserves respect and a clear understanding of kickback before you switch one on — if you're unsure, take a short course or work alongside someone experienced first.
Skip the twenty-six-piece chisel set, the elaborate sharpening gadget system, and the bargain multi-tool kit where nothing fits anything else. A drawer of tools you don't understand is not a kit.
Build the kit around the project
Pick one thing you want to make — a stool, a small shelf, a box — and buy only what that project needs, plus the safety gear. Finish it. Then choose something slightly harder and add the next tool. Two years of that approach leaves you with a kit shaped by real work rather than a catalogue.
When you do spend, spend on accuracy and holding: squares, measuring tools, clamps, sharpening. Those are the tools that quietly decide whether your joints fit. The impressive machines can wait, and they'll still be there when your skills have caught up.
Photo: Ono Kosuki / Pexels
Related posts
More stories you’ll love reading