




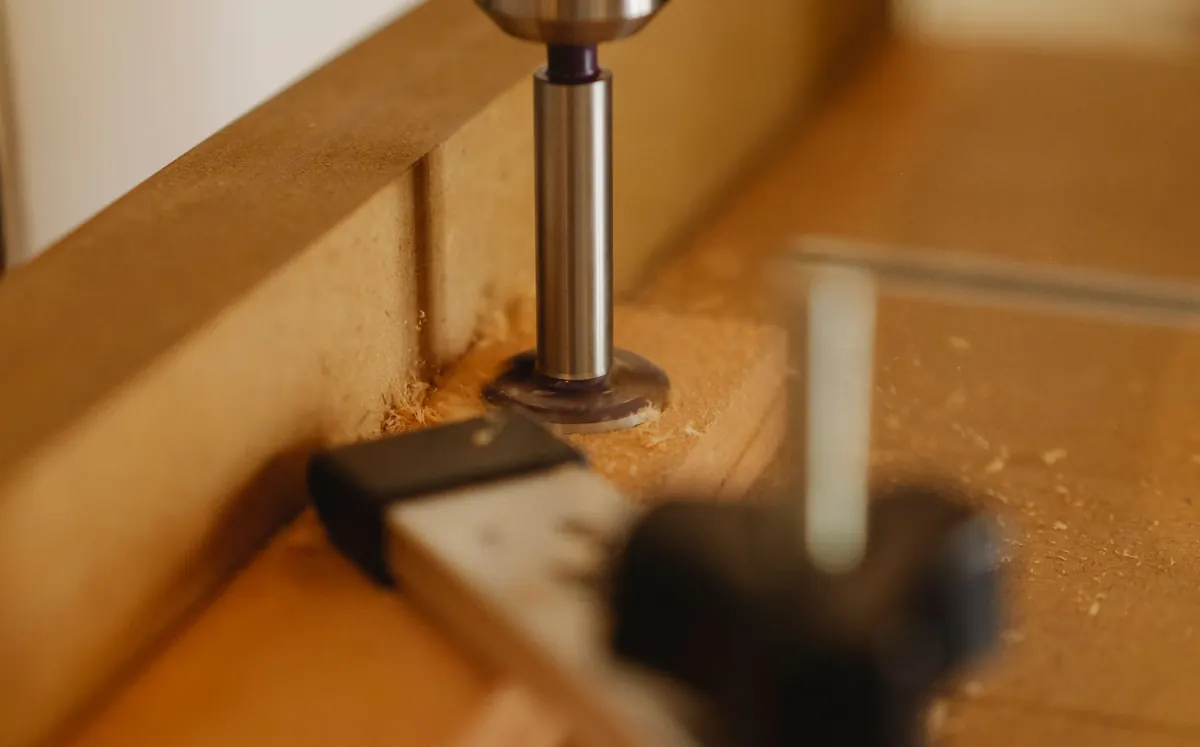
A router table turns a dado into a two-minute job. It also eats bench space, costs money, and stays behind when you’re working in someone else’s garage. If you own a router, its edge guide, and two clamps, you already have what you need to cut clean, square grooves by hand. What you need on top of that is a setup you trust, and the discipline to prove it on scrap before the bit touches a real panel.
What You Need on the Bench
Gather everything before you start. A setup falls apart when you’re hunting for a clamp with the router running.
- A fixed-base or plunge router with a sharp straight bit
- The router’s edge guide, or a straightedge you actually trust — a long level, or the factory edge of a sheet of MDF
- Two or three clamps
- A marking gauge, a square, and a sharp pencil or marking knife
- A steel rule for measuring the offset
- A scrap of the same material as the workpiece
- Safety glasses, hearing protection, and dust extraction if you have it
If your router takes a 1/2-inch shank bit, use one. The extra stiffness shows up as less chatter and cleaner walls in plywood. A 1/4-inch bit will do the job, but take lighter passes and keep the base flat.
Match the Bit to the Shelf, Not the Label
A dado should hold the shelf with a snug push fit, no visible slop. That means the bit has to match the real thickness of the shelf stock. Plywood sold as 3/4 inch is usually a shade under, often around 23/32 inch, and imported sheet goods are frequently 18mm. Measure the shelf with a rule or calipers and write the number down.
If your only straight bit is narrower than the shelf, cut the dado in two passes, one along each wall, moving the guide between them. Slower, but perfectly accurate. A bit wider than the shelf is no use for a fitted dado unless you plan to shim the joint.
Depth matters too. A quarter inch into a 3/4-inch plywood side panel is plenty, and it leaves most of the panel intact. As a working rule, keep dado depth to about a third of the thickness of the panel you’re cutting into, and never past half.
Lay Out From the Shelf, Not From the Tape
The most common cause of a dado that doesn’t line up is laying out from a tape measure when you should be laying out from the part. Hold the shelf against the panel and mark both walls of the groove with a marking gauge or a sharp pencil. Mark an X between the lines so there’s no doubt which side is waste.
For a pair of side panels that share one shelf, clamp them together and mark both at once, or transfer the marks with a square from a common reference edge. That reference edge should be the one that ends up at the front of the cabinet, and every measurement comes off it.
Square the lines across the face and score them lightly with a knife. The knife line gives the bit an edge to shear against and reduces tearout on the face veneer.
Set the Guide and Prove It on Scrap
An edge guide beats a loose straightedge because it travels with the router. Attach it to the base, set the rods, and lock it down. Then measure from the flat face of the guide to the near wall of the cut — the wall of the groove closest to the guide — with your steel rule. That distance is how far the straightedge must sit from the near layout line.
Measure from the guide face to the near wall of the cut, never to the centre of the bit. It’s the only number that matters.
Clamp a scrap of the same material and cut a test groove. Don’t skip this. Every router, guide, and bit combination measures a little differently, and five minutes of proving the setup is the difference between a cabinet and a piece of firewood.
If You’re Using a Loose Straightedge
Check it for straightness first — a bowed level will cut a bowed dado. Clamp it at both ends, add a middle clamp on long runs, and keep clamp bodies clear of the router’s path. Measure the gap at both ends of the cut, not just one. If the straightedge has to span a gap in the bench, support it, or the workpiece will flex under the base and the groove will shallow out.
Clamp Down, Set the Depth, and Cut
Set depth with the router’s depth stop, then verify it with a test cut rather than trusting the scale. On a fixed-base router, plunge the bit into scrap against a square and measure the result. On a plunge router, set the turret and trim with the micro-adjust. You’re looking for a clean bottom with no burnishing or chatter marks.
Feed in the Right Direction
Router bits turn clockwise seen from above. Feed the tool so that rotation presses the guide against the straightedge rather than pulling it away. With the guide on your left as you push the router away from you, the cut pushes the router into the fence. If the router feels like it’s yanking itself along, you’re climb cutting. Stop, switch off, and set up to feed the other way.
Take Two or Three Passes
A full-depth dado in one go in hardwood invites a burnt edge, a jumped guide, or a snapped bit. Take about 1/8 inch per pass in hardwood, up to 1/4 inch in plywood or MDF with a 1/2-inch bit. Keep the base flat on the workpiece, both hands on the router, and steady lateral pressure into the guide.
Once a pass starts, keep moving. Stopping with the bit buried lets the cutter dwell in one spot and scorch the wall. If you have to pause, pause with the motor running and the bit still in the groove, then carry on.
Through dados are easier than stopped ones: run the groove an inch past each edge of the panel, and clamp a backer board behind the exit to stop blowout. For stopped dados, clamp stop blocks to the straightedge, or cut to your lines and square up the ends with a chisel afterwards.
Clean Up and Check the Fit
Drop the shelf into the groove. If it goes in with light hand pressure, you’re finished. If it’s tight, find out where before you start removing material — usually it’s a high spot in one wall or a bit a few thousandths narrow. Pare the ends of stopped dados with a sharp chisel, working from the outside in. A few passes with 150-grit wrapped around a block will ease a tight wall; work on the dado, not the shelf, and test the fit often. A slightly loose joint is fine — glue and screws from the outside will pull it up, as long as the gap is under a sixteenth.
The Habits That Make It Repeatable
Cut every dado for a project with the same bit, the same depth setting, and the same guide offset, and cut them all in one session. Keep the test scrap with its sample groove labelled and on the bench, so you can re-check the setup after lunch without cutting into a panel. Dry-fit the whole carcass before any glue comes out.
A dado setup that stays clamped and ready on the bench is more reliable than most router tables, and it costs you two clamps and ten minutes of measuring. Set it once, prove it once, and the rest of the job is repetition.
Photo: Ono Kosuki / Pexels
Related posts
More stories you’ll love reading