


Devon will dry your timber for you, just not on the schedule you had in mind. A stack of oak felled in February and left on a hedgerow bank will be soaked again by March rain, then wrapped in warm, damp air through July. This county's mild, Atlantic-fed climate grows trees beautifully and makes seasoning them slow, fiddly work. Get airflow, end grain and patience right, though, and you can bring boards down to 15–18% moisture content without a kiln.
What Devon's Weather Does to Green Timber
Rainfall is the obvious problem, but humidity is the one that catches people out. Even in a dry week, the air here holds plenty of water, and overnight fog or dew can put moisture back into the surface of a stack faster than a warm afternoon took it out. In the wetter parts of the county — the moor's western flanks, the deep valleys — you are fighting that all year. In the drier east, around the Exe and the Blackdown Hills, there is noticeably more drying weather in a season.
There are two things worth understanding before you build anything. First, sheltered ground is bad ground. A stack tucked behind a hedge for protection sits in still, damp air and will grey with mould while a stack on an open, breezy slope dries. Second, our winters rarely stop drying entirely; they slow it nearly to a stop, which means the stack's main job from November to March is protection, not progress. Plan for both.
Stacking So the Air Does the Work
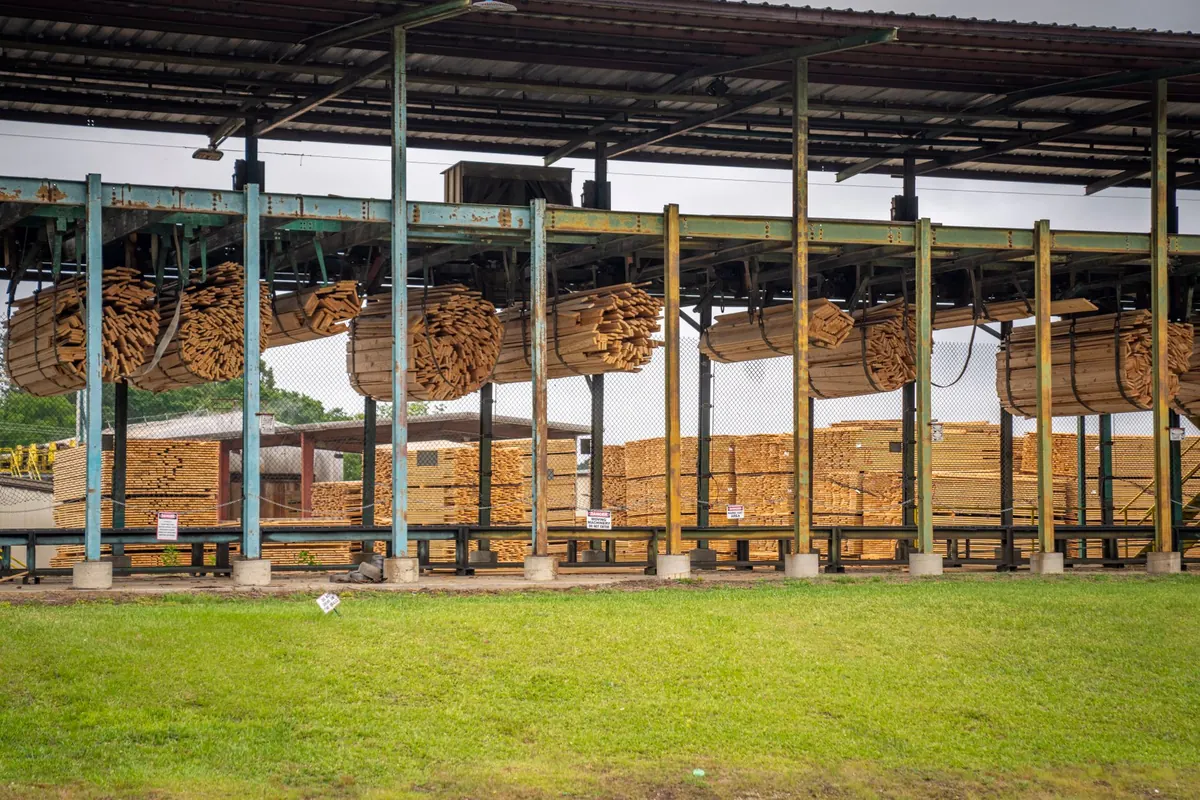
A stack is a chimney and a wind tunnel at the same time. Air should move along the boards, between the layers, and out again. If any of those three routes are blocked, you get mould and staining instead of dry timber.
- Bearers first. Set concrete blocks or well-treated sleepers on firm, level ground, then lay bearers across them so the bottom boards sit 150–200mm clear of soil and grass. Never let the bottom course rest on a pallet that has already sunk into the mud.
- Stickers, not offcuts. Use dry sticks of even thickness — 25mm square is a good working size — and space them roughly 400–450mm apart. Line each one directly above the one below, and directly above a bearer at the ends. Dry stickers, ideally of the same species, avoid leaving sticker stain on pale timbers.
- Keep the layers honest. Boards of similar thickness in each course, no overhanging ends left unsupported, and every layer squared up as you go. A stack that leans will dry into a banana.
- Weight the top. A couple of heavy boards or a few blocks on a sacrificial top plank do more for flatness than any amount of careful cutting.
- Roof it properly. A corrugated sheet on battens, overhanging 300mm or so on all sides, sloped enough to shed water fast, and weighted or strapped down. Leave the gap between roof and top course open so air still leaves the stack.
- Face it into the wind. Run the length of the stack with the prevailing south-westerlies, and keep the gaps between boards free of leaves and sawdust.
Sealing the Ends Is Not Optional
End grain gives up water far faster than the face of a board, and that mismatch is what tears the ends open in splits you can put a pencil in. Seal every exposed end within a day of sawing — same day if you can.
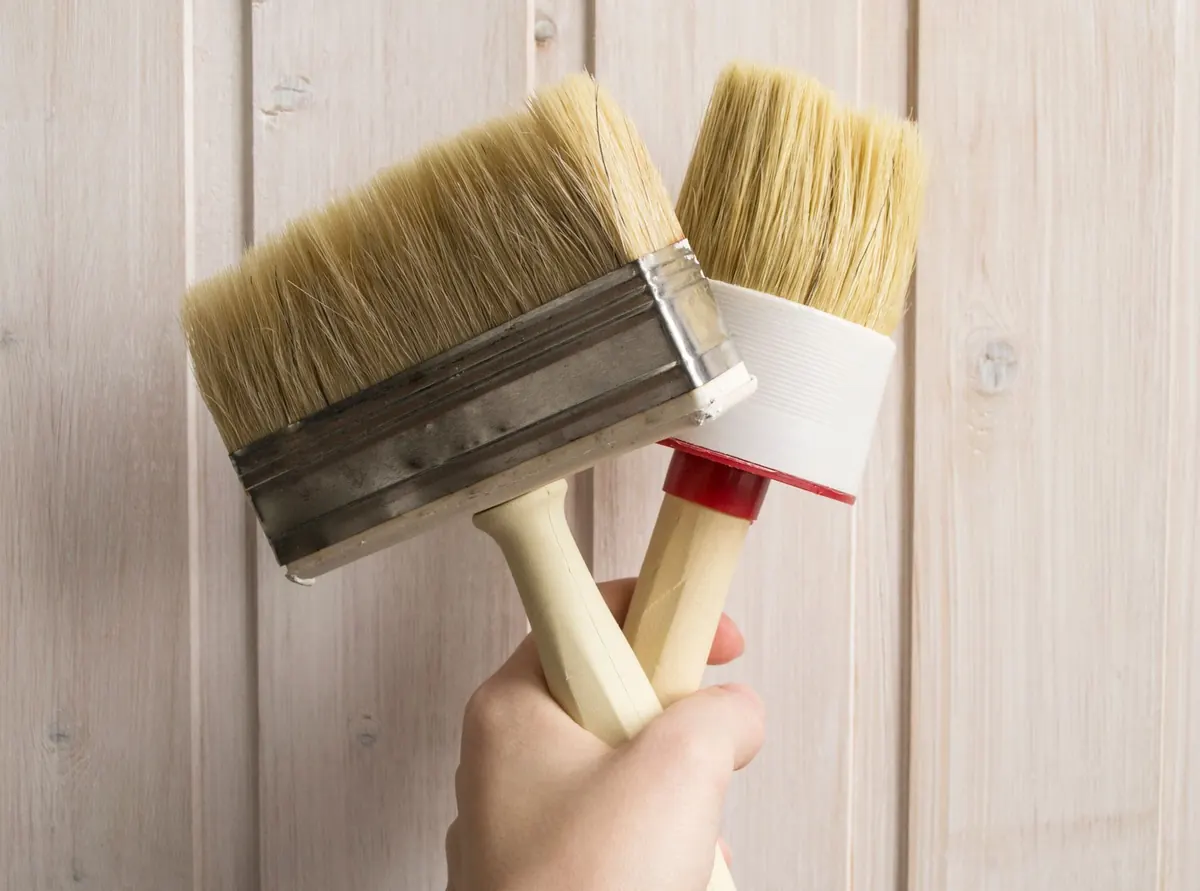
A wax emulsion end sealer is the reliable choice. Thick gloss paint, bitumen or neat PVA will do at a push, but thin water-based paint is close to useless. Two coats, brushed right over the end grain and slightly down the edges, is better than one heavy one. If you trim a board later, reseal the new cut. While you are at it, strip bark from boards and clear it away from the stack: it holds moisture against the wood and gives insects somewhere to live.
Moisture Meters and the Honest Test
A pin meter is a useful tool and a poor judge on its own. Most pins read only the outer few millimetres, and on air-dried stock that surface is always drier than the middle of the board. Push the pins in as far as they will go, take several readings along the length and across the width, and set the meter for the species if it allows. Treat the lowest reading as the interesting one, not the true figure.
For a real answer, sacrifice a sample. Cut a block from the middle of a test board, weigh it accurately, dry it in a low oven at around 100°C until the weight stops falling, then weigh again and work it out:
moisture content % = (original weight − oven-dry weight) ÷ oven-dry weight × 100
Use an old toaster oven rather than the one you cook in — hot resin and sawdust make a smell you will not forget. As a rule of thumb, allow about a year of air drying per 25mm of thickness. Boards destined for outdoor work or framing are usually fine at 15–20%; anything going into a heated house wants to be nearer 10%, which generally means a final spell somewhere warm and dry.
Through the Year
Spring
Drying restarts in fits and starts between showers. Check the roof after winter gales, reseal any ends you have trimmed, and watch the top course for mould after mild, wet spells. Lift the bottom boards and check the ground underneath is still dry.
Summer
This is where the work gets done. Warm, breezy days can pull a surprising amount of water out of a stack in a few weeks. The risk is speed: fresh oak and beech hit by hot sun and a stiff wind on the same face will check across the surface. A spare board stood as a baffle on the sunny side, or a strip of shade netting, costs you a little drying time and saves a lot of timber.
Autumn
September and October often give the best drying weather of the year — warm air, low humidity, a good breeze. Clear fallen leaves from around the base, and keep the ground beneath the stack clear so damp air does not pool in dead space under the bottom course.
Winter
Aim to protect, not to dry. Re-strap the roof, clear standing water, and leave the stack alone. Restacking in cold, damp weather gains nothing and only disturbs the boards.
When It Goes Wrong
Split ends mean the seal was too thin, too late, or the ends were cooked by sun and wind. Reseal and accept a little loss at the tips.
Surface checks on oak, ash and beech are almost always the surface drying faster than the core. Shade the windward or sunward face and slow the whole thing down.
Warp and twist point at stickers spaced too far apart, boards not aligned over the bearers, or no weight on top.
Mould and blue stain mean still air, wet weather and bark left in the stack. Blue stain in pine sapwood is permanent; mould on hardwood surfaces usually planes off. Improve airflow before you reach for anything else.
A Routine That Works
Air drying rewards a light, regular touch rather than heavy intervention. Once the stack is built, the whole job comes down to a handful of visits a year:
- Seal ends the day the saw stops.
- Build the stack off the ground, aligned, weighted and roofed.
- Walk the stack monthly — check the roof, the straps, the airflow and the base.
- Test moisture with a meter quarterly, and with an oven sample before you commit boards to a project.
- Do not move boards until they are ready; then bring them indoors for a final acclimatisation before machining.
Do that, and Devon's damp air becomes a slow, free and remarkably gentle way of turning green boards into timber you can trust. The only real cost is time, and there is no shortcut worth taking.
Photo: Mark Stebnicki / Pexels
Related posts
More stories you’ll love reading